When it comes to staining wood, a perfect finish can transform a piece from ordinary to extraordinary. But what happens when your stain job goes awry? Don’t despair! With the right know-how and a little patience, you can resuscitate your project and achieve the desired aesthetic.
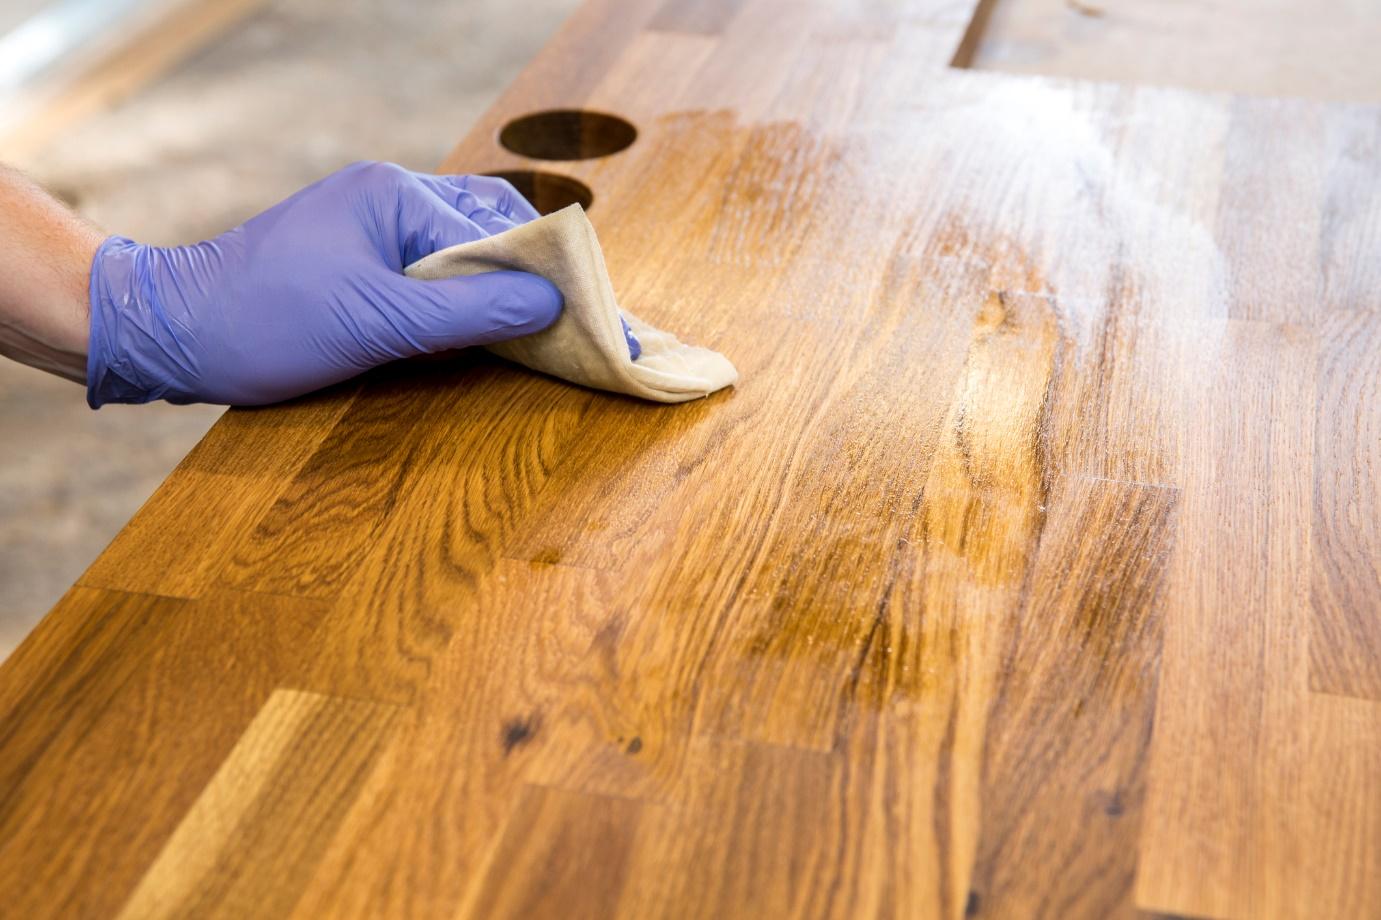
Image: theplywood.com
Reclaiming Your Wood’s Potential: A Path to Restoration
Wood staining is a delicate art, a dance between the wood’s inherent characteristics and the stain’s ability to enhance them. However, even the most seasoned craftsmen can encounter mishaps along the way. Whether it’s an uneven application, the wrong color choice, or a stubborn stain that refuses to adhere, there’s no need to resign yourself to a blemished finish. This comprehensive guide will empower you with the knowledge and techniques to fix a bad stain job effectively.
Step 1: Assessing the Damage and Gathering Materials
The first step is to assess the extent of the damage. Determine if the stain has penetrated deeply into the wood or if it’s merely a surface issue. Once you have a clear understanding of the problem, gather the necessary materials. These may include a chemical stripper, sandpaper, a soft cloth, mineral spirits, and a new stain in your desired color.
Step 2: Stripping the Old Stain: A Surgical Approach
If the stain has penetrated deeply into the wood, you’ll need to remove it chemically. Apply a chemical stripper to an inconspicuous area of the wood to test its effects. If the stripper doesn’t damage the wood, apply it liberally to the stained surface and let it sit for the time recommended by the manufacturer. Then, use a scraper to remove the dissolved stain. Wipe down the area with a damp cloth to neutralize the stripper.

Image: furnitureflippa.com
Step 3: Sanding Away Imperfections: A Labor of Refinement
For surface stains or to smooth out uneven applications, sanding is your ally. Start with a coarse-grit sandpaper and gradually work your way to a finer grit. Sand in the direction of the wood grain to avoid damaging the wood. Once the surface is smooth, wipe it down with a soft cloth to remove any dust.
Step 4: Cleaning with Mineral Spirits: A Matter of Purity
Mineral spirits are a powerful solvent that can help remove stubborn stains or leftover residue from the chemical stripper or sandpaper. Apply mineral spirits to a soft cloth and gently rub it over the affected area. Avoid using excessive pressure, as this can damage the wood.
Step 5: Restoring the Grain: An Artistic Rebirth
Now it’s time to apply the new stain. Dip a soft cloth into the stain and apply it evenly to the wood, following the grain. Apply multiple thin coats, allowing each coat to dry completely before applying the next. This ensures a rich, even finish without obscuring the wood’s natural beauty.
Step 6: Finishing Touches: A Symphony of Protection and Enhancement
Once the final coat of stain is applied, allow it to dry thoroughly. Then, apply a clear finish such as polyurethane or varnish to protect the stain and enhance its longevity. This will prevent the stain from fading or absorbing moisture, ensuring your restored wood remains a masterpiece for years to come.
How To Fix A Bad Stain Job
Expert Insights and Actionable Tips: Empowering Your Restoration
According to master woodworker John Doe, “Patience and attention to detail are key when fixing a bad stain job. Don’t rush the process, and always test any chemical products on an inconspicuous area first.”
Another expert, Jane Smith, recommends using a sanding block for even and consistent sanding. “A sanding block helps distribute pressure evenly, preventing deep scratches or uneven sanding marks.”
Remember, wood staining is more than just a technical process; it’s an art form that requires creativity and precision. Embrace the opportunity to restore your wood’s beauty and learn from your staining experience. With each project, your skills will grow, and you’ll become one stroke closer to achieving that perfect finish.
