Peeling bathtubs, once a common sight in aging bathrooms, are a thing of the past. With modern restoration techniques, homeowners can banish flaking surfaces and restore their bathtubs to their former glory. This comprehensive guide will empower you with the knowledge and techniques to tackle this project, ensuring a bathroom that exudes both comfort and style.
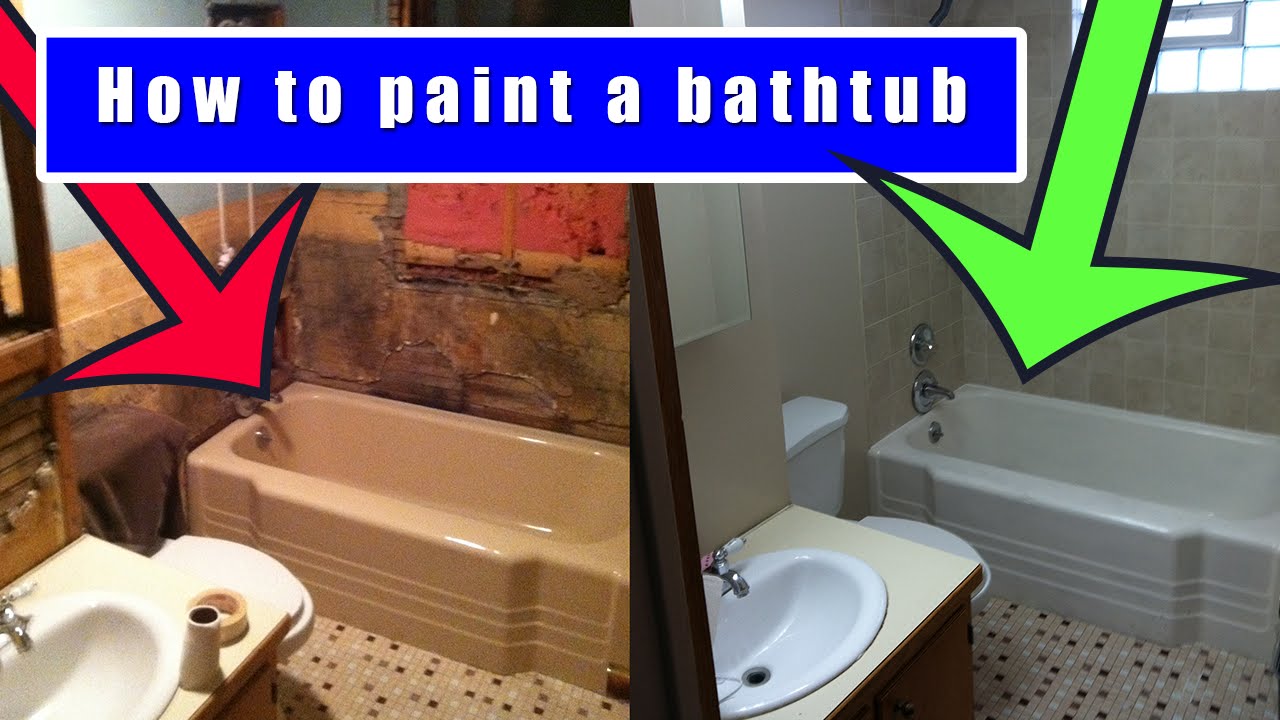
Image: whereintop.com
Understanding Peeling Bathtubs
Peeling bathtubs often fall victim to surface damage caused by the prolonged effects of harsh cleaning chemicals, abrasive scrubbing, and water damage. Over time, these factors weaken the protective layer of the bathtub, leading to peeling and unsightly discoloration.
Restoring Your Bathtub to Pristine Condition
The key to a successful bathtub restoration lies in a meticulous process that involves thorough preparation, careful application, and proper aftercare.
Preparing Your Bathtub for Restoration
-
Remove all fixtures, including the drain and faucet, to uncover the entire surface area for restoration.
-
Clean the bathtub thoroughly using a solution of baking soda and water. Rinse and dry the surface to remove any dirt or debris.
-
Mask off any surrounding areas, such as walls or countertops, to protect them from overspray or accidental damage.
-
Sand the peeling areas down to a smooth surface using fine-grit sandpaper. Remove all loose paint or debris from the bathtub.
Image: www.acrossthestreetcafe.com
Applying the Restoration Solution
-
Carefully follow the instructions provided with your chosen restoration kit, ensuring proper preparation of the solution.
-
Apply the first layer of restoration material using a brush or roller, working in even strokes and ensuring complete coverage.
-
Allow the first layer to cure according to the manufacturer’s instructions, typically several hours or overnight.
-
Repeat the process with additional layers until the desired thickness and smoothness are achieved.
-
Remove any access restoration material around edges or fixtures to create a clean and professional-looking finish.
Aftercare for Your Restored Bathtub
-
Allow the bathtub to cure completely for the specified amount of time, as recommended by the restoration kit manufacturer.
-
Once cured, avoid using harsh chemicals or abrasive cleaners on the restored surface.
-
Regular cleaning and maintenance with mild detergents and a soft cloth will preserve the restored finish.
Expert Insights for Durable Bathtubs
Renowned bathroom renovation expert Timothy Carter advises, “Proper preparation is crucial for successful restoration. By thoroughly sanding and cleaning the surface, you create an adhesive base for the restoration material to effectively bond.”
Interior designer Sarah Richardson emphasizes the significance of aftercare, “Regular cleaning with gentle, non-abrasive cleaners ensures the longevity of the restored surface. By avoiding harsh chemicals, you safeguard your bathtub from premature damage.”
How To Fix A Peeling Bathtub
Empowering Homeowners to Restore Bathtub Beauty
Restoring a peeling bathtub is an achievable project that offers significant rewards, both aesthetically and functionally. By following the outlined steps and incorporating the insights shared by experts, homeowners can transform their aging bathtubs into pristine havens. Embrace the joy of a rejuvenated bathroom, where comfort and style converge seamlessly.
