Image: craftknife.blogspot.com
Introduction
Loosened pant buttons are a frustrating dilemma, often met with apprehension and a sinking feeling of inadequacy. Fear not, my sartorial enthusiasts, for in this detailed guide, we will equip you with the knowledge and skills to tackle this button-related adversity with confidence and precision. Whether you’re a seasoned seamstress or a novice seeking to mend your own attire, this comprehensive manual will guide you through the intricate art of pants button reinforcement. Let’s embark on this enlightening journey together.
Throughout history, buttons have adorned garments, serving both functional and aesthetic purposes. From the decorative opulence of royal robes to the utilitarian simplicity of workwear, these small yet vital components have played a pivotal role in our attire. Today, we focus on a specific type of button—the often-imperiled pants button. These unsung heroes bear the weight of our daily movements, enduring the rigors of our active lifestyles. However, even the sturdiest buttons can succumb to the relentless forces of friction and wear, leaving us with a gaping void where once there was secure closure.
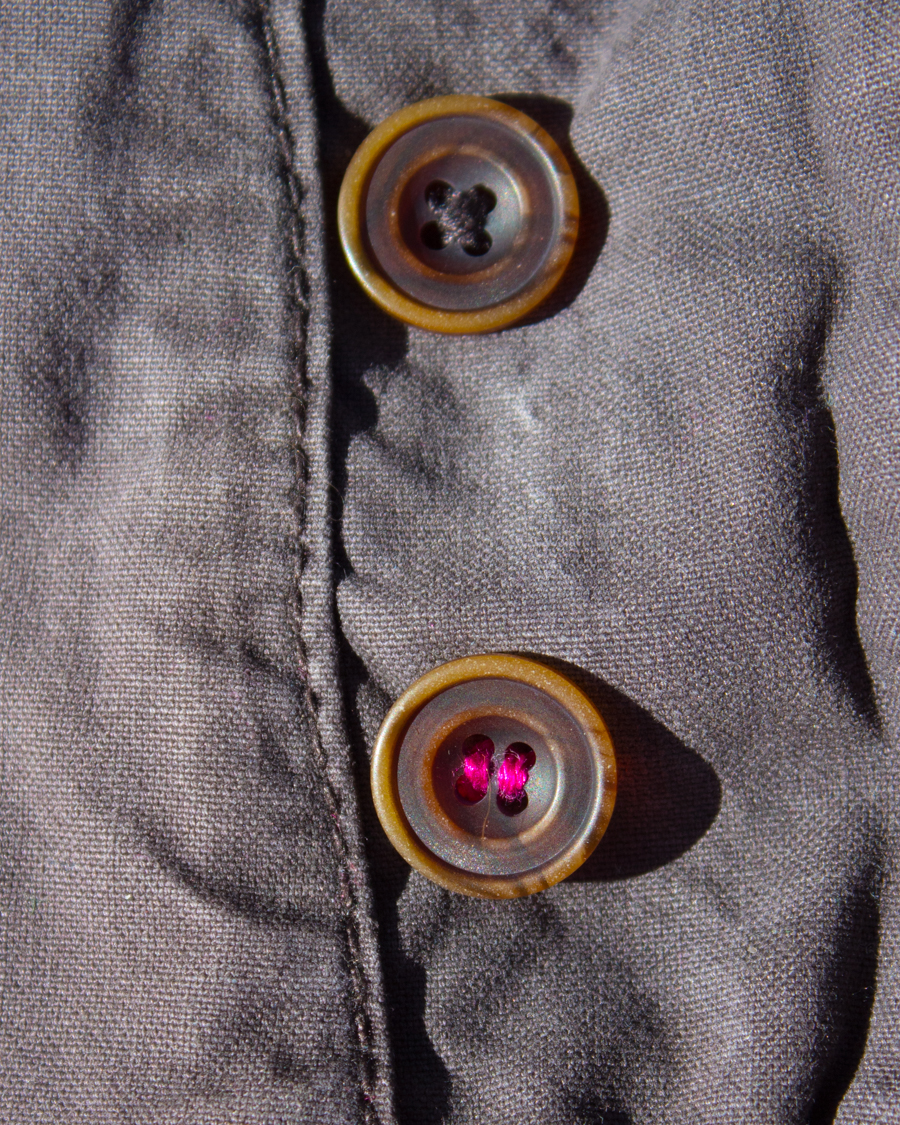
Understanding the Anatomy of a Pants Button
To effectively address the issue of loose buttons, it is imperative to comprehend their anatomical components. A typical pants button comprises three distinct parts:
-
The Face: Visible on the garment’s exterior and often adorned with intricate designs or logos.
-
The Shank: A narrow, cylindrical extension that connects the face to the back of the garment, creating a space between the button and the fabric for easier buttoning.
-
The Back: The hidden portion that secures the button to the garment, usually reinforced by a flat or dome-shaped base.
Materials Required for Button Reinforcement
Before we delve into the practical techniques of button reinforcement, let’s gather the essential tools and materials that will accompany us on this sartorial expedition:
-
Matching Button: Get your hands on a button that mirrors the original in size, shape, and color.
-
Heavy-Duty Thread: Opt for a durable thread like nylon or polyester to withstand daily wear and tear.
-
Needle: Choose a needle that corresponds to the thread thickness and button size.
-
Scissors: A sharp pair of scissors will precisely cut the thread.
-
Thimbles (Optional): These finger protectors provide comfort during prolonged sewing.
Step-by-Step Guide to Button Reinforcement
Now, don your imaginary sewing apron, and let us embark on the step-by-step process of button reinforcement:
1. Preparation: Begin by snipping away any loose or frayed threads around the original button, clearing the way for a secure and tidy repair.
2. Position the New Button:** Align the new button precisely on the desired spot, matching it with the original’s placement.
3. Start Sewing:** Thread your needle and double-knot the thread end. Starting from the garment’s back side, insert the needle through one of the button shank holes, bringing it up through a corresponding hole.
4. Secure the Button:** Wrap the thread around the shank base several times, creating a sturdy foundation. Secure the thread by inserting the needle back down through the shank hole adjacent to the starting hole, forming an “X” pattern.
5. Repeat the Wrapping:** Continue wrapping the thread around the shank base, ensuring that the stitches are tight and secure. Repeat the “X” pattern to distribute the tension evenly.
6. Create a Shank Extension:** For added reinforcement, consider extending the shank by wrapping the thread around a toothpick or a matchstick. Insert the makeshift shank extension under the button, enhancing its anchor.
7. Backstitch to Secure:** To finalize the reinforcement, backstitch several times through the last few wraps around the shank. This technique reinforces the stitching and prevents unraveling.
8. Final Knot and Trim:** Double-knot the thread securely and snip off any excess thread. Your button is now firmly attached and will withstand the trials of daily wear.
Additional Tips for Optimal Results
-
Use a Contrasting Thread: When working on dark fabrics, opt for a contrasting thread color to enhance visibility and ensure precise stitching.
-
Reinforce Both Sides: Reinforce the button from both the front and back for maximum durability.
-
Sew Slowly and Evenly: Take your time, sewing with patience and precision to guarantee a strong and professional-looking finish.
-
Consider Fray Check: To prevent fraying around the buttonholes, apply a dab of fray check solution for added protection.
Conclusion
Congratulations, you have now mastered the art of pants button reinforcement! By following these simple yet effective techniques, you have empowered yourself to tackle this common sartorial challenge with confidence. Remember, practice makes perfect, so grab that loose button and give it a new lease on life. And who knows, you may just discover a newfound appreciation for the humble button and its transformative power in our wardrobes. So, go forth, dear readers, and conquer the world—one secure button at a time!

Image: jacksboyblog.blogspot.com
How To Fix Pants Button
