To the dismay of homeowners everywhere, even a meticulous tiling job can be overshadowed by a botched grout application, leaving behind a disfigured finish that detracts from the overall aesthetic appeal. However, fret not, for this comprehensive guide will empower you with the knowledge and techniques required to rectify a poor grouting job, restoring your tiled surfaces to their former glory.
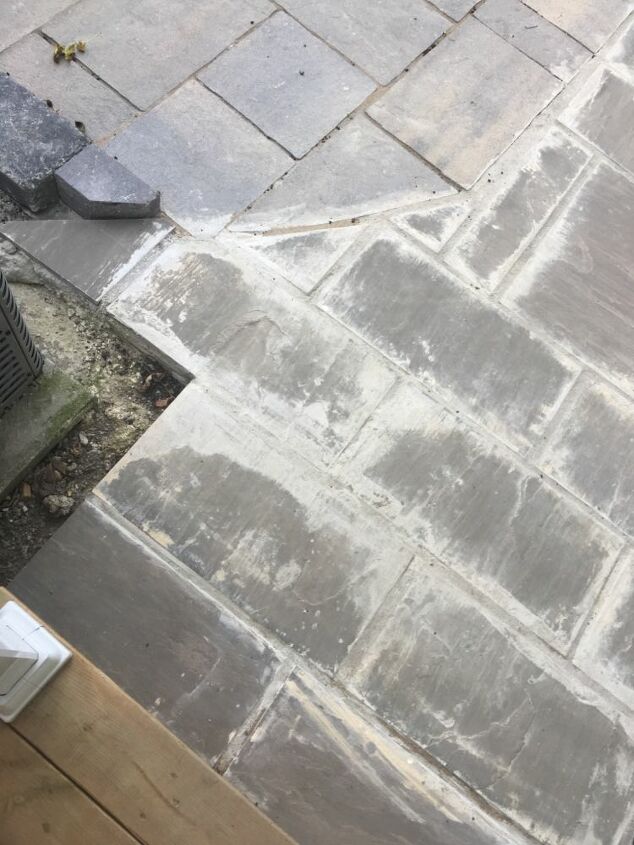
Image: www.hometalk.com
What Constitutes Bad Grout Work?
Grout, the unsung hero of any successful tiling project, serves multiple crucial functions. From sealing the gaps between tiles to preventing water penetration and staining, high-quality grout ensures the durability and hygiene of your tiled spaces. When the grouting process goes awry, several telltale signs can expose the inadequacies:
-
Crumbling or disintegrating grout, signaling a deficiency in the grout’s strength
-
Loose or missing grout, compromising the integrity of the tile installation
-
Discolored or stained grout, marring the overall appearance of the tiled surfaces
-
Efflorescence, characterized by a white, powdery substance forming on the surface of the grout, indicating moisture issues beneath
A Step-by-Step Approach to Rectifying Grout Deficiencies
-
Gather the Necessary Tools: Before embarking on your grouting expedition, assemble an essential toolkit comprising a grout saw, a grout removal tool, a bucket, a sponge, a trowel, and fresh grout.
-
Remove the Problematic Grout: Using the grout saw or removal tool, carefully extract the damaged or unsightly grout. Be meticulous in your removal, ensuring that the edges of the tiles remain intact.
-
Clean the Surface: With the offending grout removed, proceed to thoroughly clean the surface. Use a damp sponge or cloth to wipe away any remaining grout residue or debris. Allow the surface to dry completely before proceeding.
-
Apply Primer (Optional): For porous surfaces or areas prone to moisture, consider applying a grout primer. Specifically designed to enhance adhesion, it provides a solid foundation for the new grout.
-
Mixing the New Grout: Refer to the manufacturer’s instructions to determine the correct proportions of grout and water. Use a trowel to mix the grout until it reaches the consistency of peanut butter.
-
Applying the Grout: Employ the trowel to apply the new grout onto the prepared surface, ensuring that it completely fills the gaps between the tiles. Use a damp sponge to remove any excess grout from the surface of the tiles.
-
Shaping the Grout: Using a rounded tool or your finger dipped in water, shape the grout lines to create a smooth, finished look. Avoid over-tooling, as this can weaken the grout.
-
Curing the Grout: Allow the grout to cure accordingly to the manufacturer’s recommendations. The curing process typically takes several days, during which time it’s crucial to keep the area dry and traffic-free.
Additional Tips for Grout Restoration
-
Use High-Quality Grout: Invest in grout that aligns with the demands of your specific application, ensuring durability and resistance to stains and moisture.
-
Adequate Sealing: Once the grout has fully cured, apply a penetrating sealer to protect it from water damage and stains. Reapply the sealer periodically to maintain its effectiveness.
-
Regular Cleaning: Implement a regular cleaning regimen using a neutral pH cleaner to prevent dirt accumulation and discoloration. Avoid harsh chemicals or acidic cleaners, as they can damage the grout.
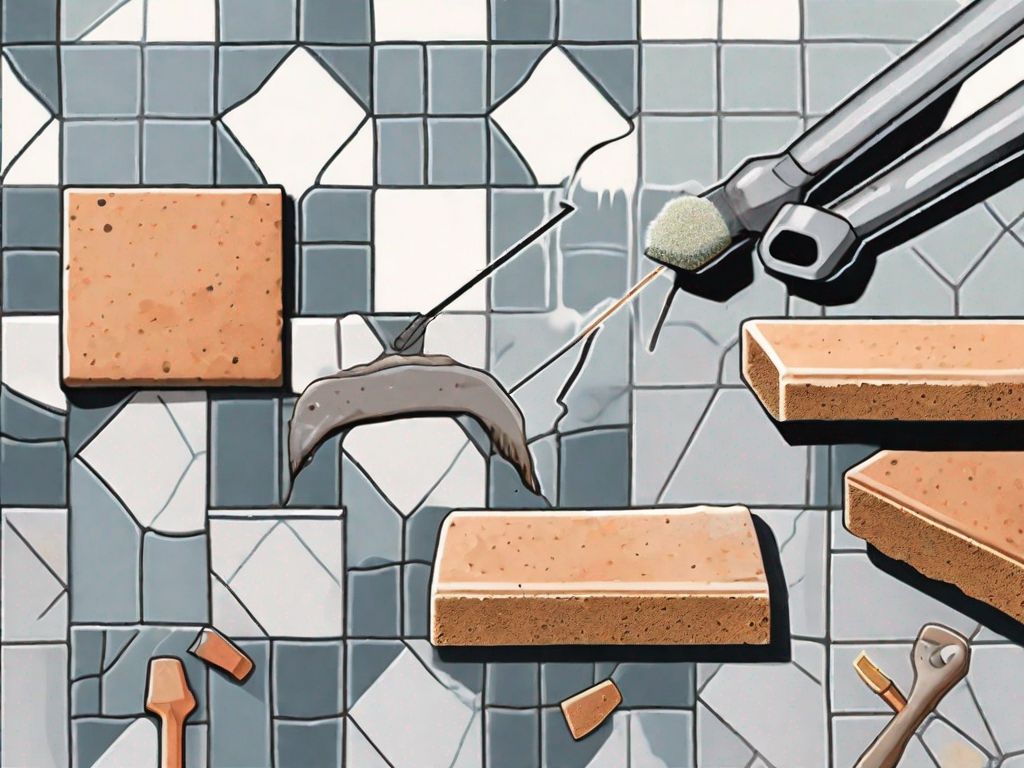
Image: fixitinsider.com
Expert Insights on Grouting Perfection
According to renowned tiling expert, Anthony Carrara, “The key to a successful grouting job lies in meticulous preparation and attention to detail. By thoroughly removing the old grout, cleaning the surface, and using high-quality materials, you can achieve professional-grade results.”
Echoing Carrara’s sentiments, master craftsman, Sarah Davis, emphasizes the importance of proper hydration. “Grout that is too wet or too dry will compromise its strength and longevity. Follow the manufacturer’s instructions carefully to ensure the correct consistency.”
How To Fix A Bad Grout Job
Conclusion
With the techniques and insights outlined in this comprehensive guide, you are now well-equipped to tackle any grouting mishaps that may arise. By following these steps meticulously, you can restore your tiled surfaces to their pristine condition, enhancing their aesthetic appeal and durability. Remember, patience, precision, and the use of quality materials are the cornerstones of a successful grouting project.
