Introduction

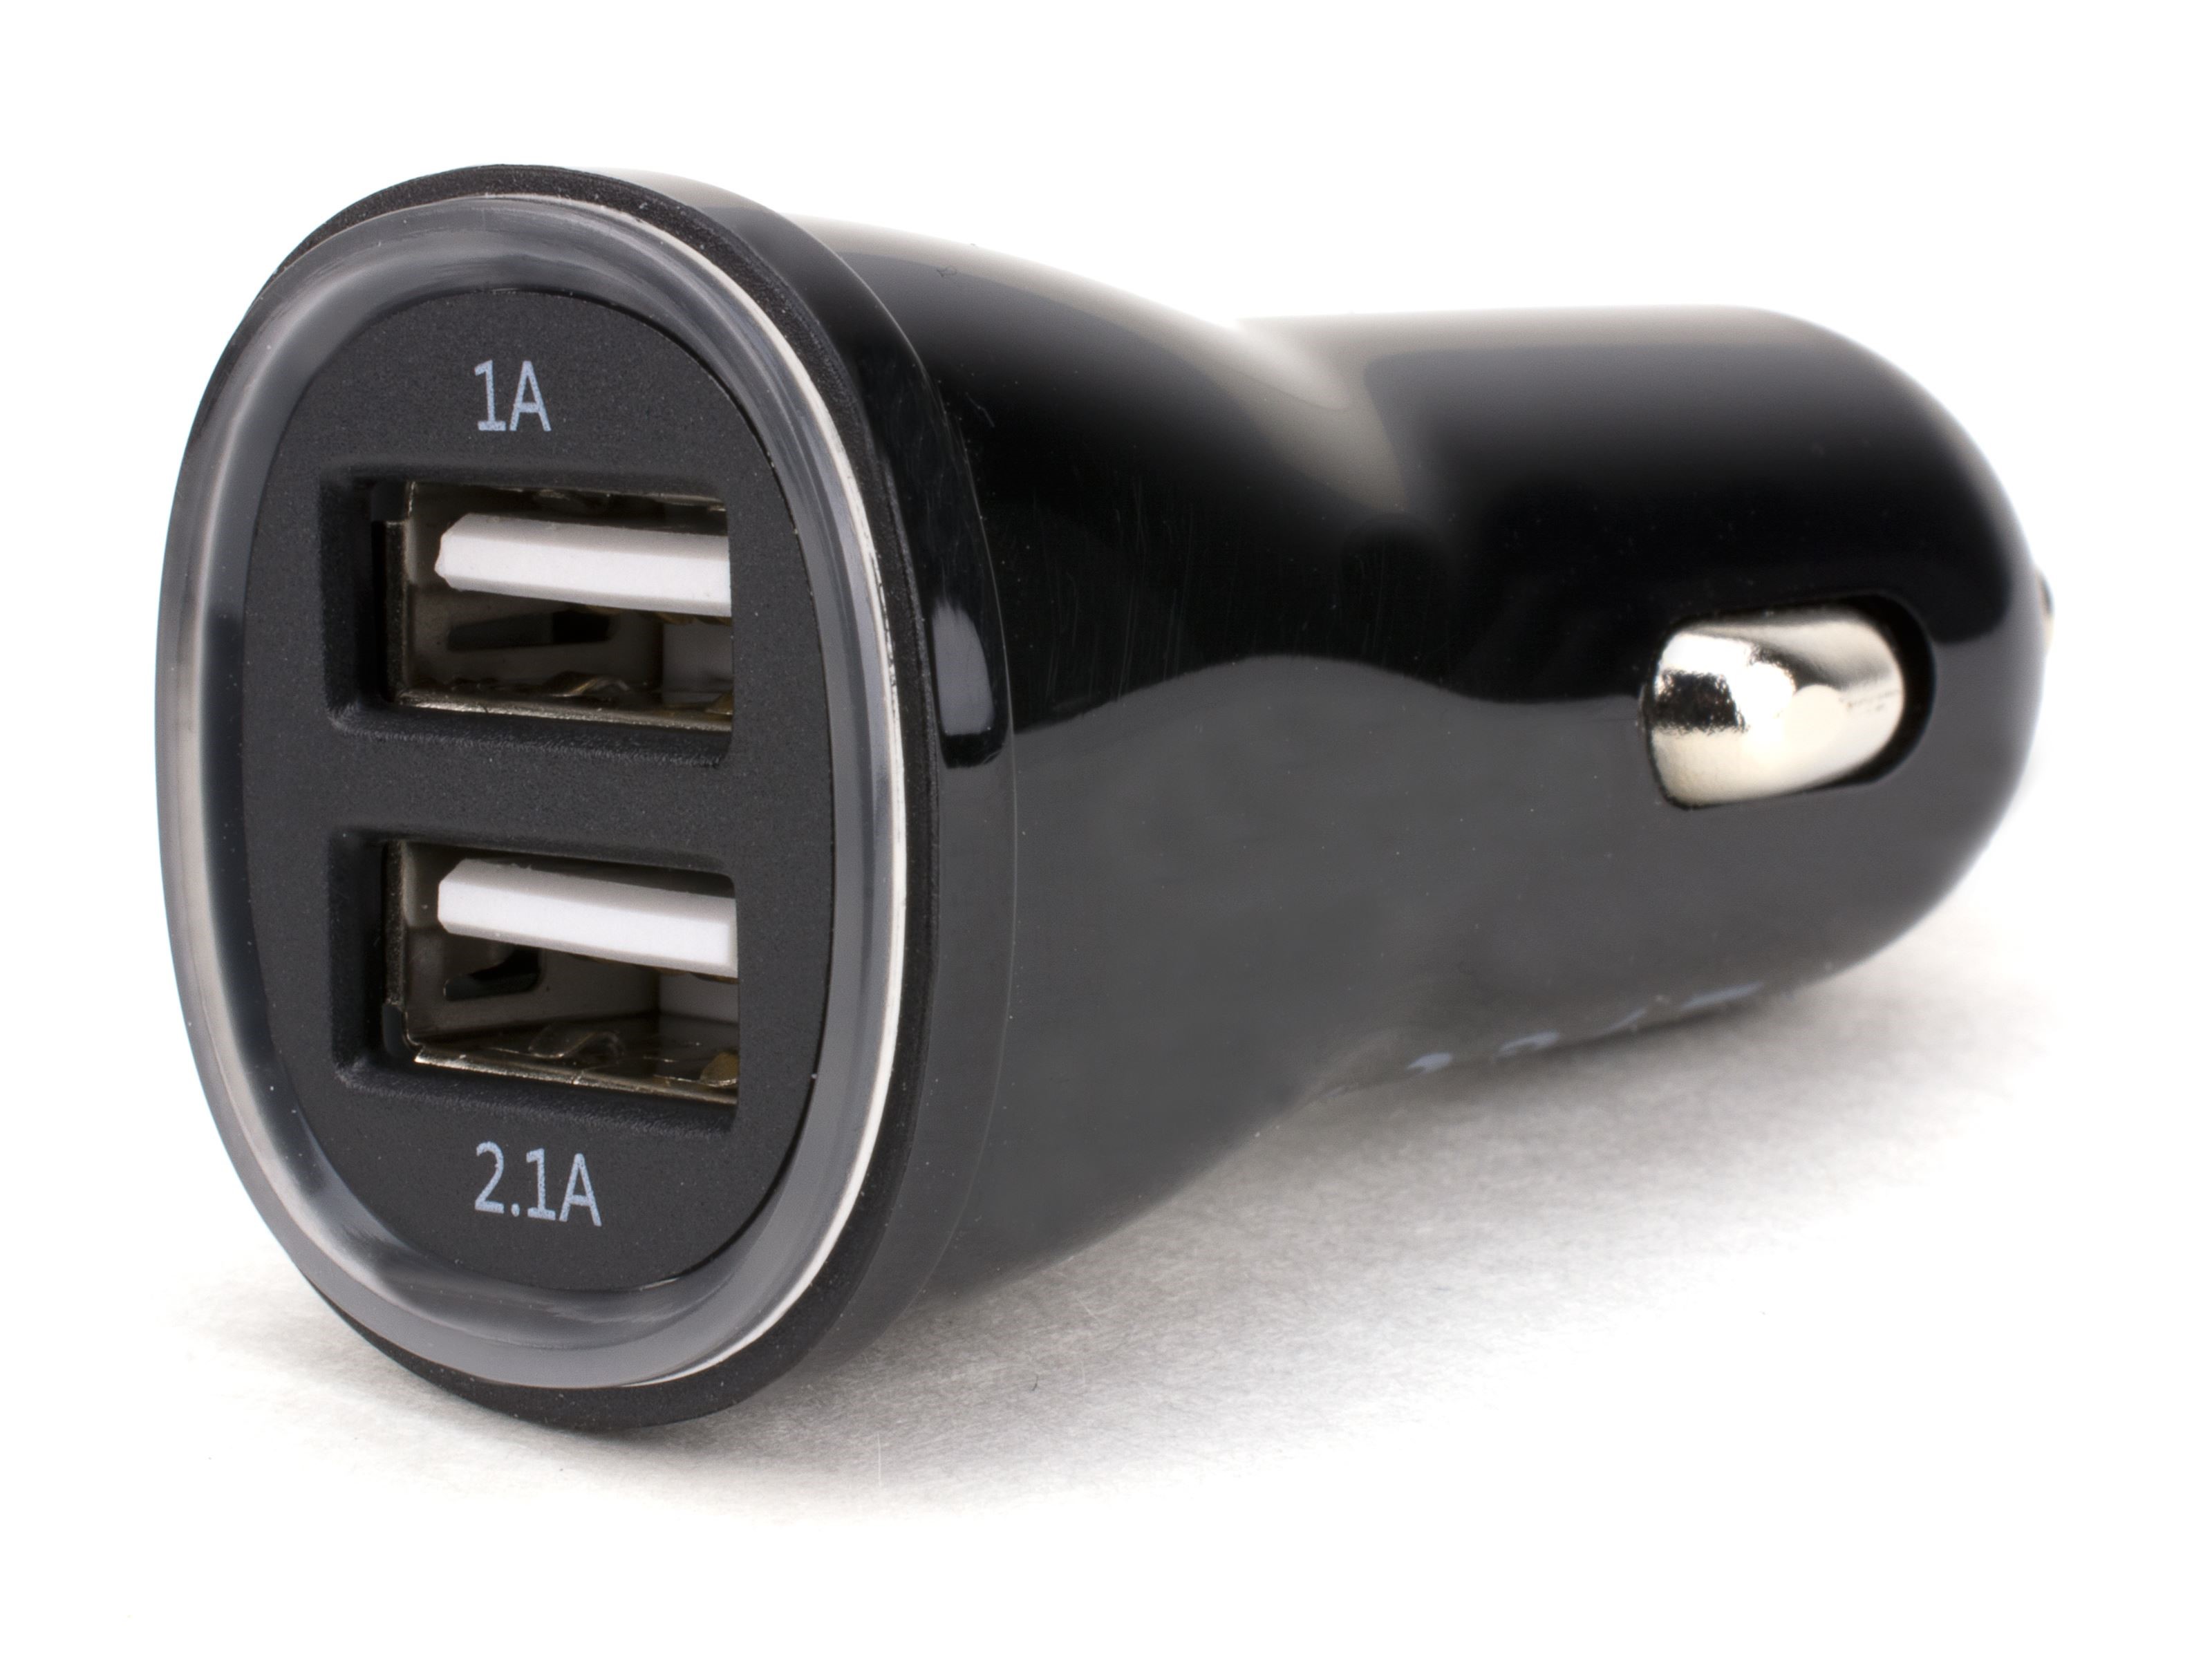
Image: www.vividavproducts.com
Imagine this frustrating scenario: you’re embarking on a long road trip, eager to stay connected and powered up for the journey. But as you reach for your phone’s charger, a dreaded realization sets in – your car’s charger port is not working. Don’t despair! This extensive guide will empower you with the knowledge and step-by-step instructions to diagnose and fix a faulty charger port, ensuring seamless charging on the go.
Understanding Car Charger Ports
Car charger ports, often known as cigarette lighter sockets, are ubiquitous in vehicles today. They serve as power outlets, supplying electricity to various devices such as smartphones, GPS navigators, and dashcams. These ports typically consist of three main components: a power source (usually the vehicle’s battery), a fuse, and a connector. When any of these components malfunction, the charging process can be disrupted.
Troubleshooting and Repairing a Faulty Charger Port
1. Check the Fuse
The first step in troubleshooting a faulty charger port is to inspect the fuse. Fuses are designed to protect electrical circuits from overloads by sacrificing themselves if the current flow exceeds a safe level. A blown fuse can prevent the charger port from receiving power.
- Locate the fuse box in your car, which is typically found under the dashboard or in the engine compartment.
- Consult your vehicle’s owner’s manual to identify the fuse responsible for the charger port.
- Visually inspect the fuse for any breaks or melted sections. If the fuse is blown, replace it with a new one of the same amperage rating.
2. Examine the Connector
The connector is the physical interface where your device’s charger plugs into the car’s charger port. Over time, dirt, dust, or corrosion can accumulate within the connector, obstructing the connection.
- Disconnect all devices from the charger port and use a cotton swab or compressed air to gently clean the inside of the port.
- Pay attention to the contacts (the small metal prongs) within the port and ensure they are not bent or damaged. If necessary, use a small, non-metallic object (such as a toothpick) to gently straighten the contacts.
3. Test the Charger Port
After cleaning the connector, reconnect your device’s charger. If the device still does not charge, it may be helpful to test the charger port using a multimeter, a device that measures electrical properties.
- Set the multimeter to measure voltage and connect the probes to the positive and negative terminals of the charger port.
- Turn on the vehicle’s engine and check if the multimeter registers a voltage reading of approximately 12 volts. If there is no voltage reading, the charger port may be faulty and require professional repair.
4. Check Wiring Connections
If the connector and fuse appear to be functioning properly, the issue may lie with the wiring connections. Loose or damaged wires can interrupt the power flow to the charger port.
- If you are comfortable working with electrical components, locate the wiring harness connected to the charger port.
- Inspect the wires for any visible damage or loose connections. If you find any loose wires, use a crimping tool to securely reconnect them.
Conclusion
Navigating the complexities of car charger port issues can be daunting, but armed with the knowledge and techniques outlined in this guide, you are well-equipped to diagnose and repair the problem. Remember, if the issue persists or you lack the confidence to perform repairs yourself, seek the guidance of a qualified mechanic to ensure safe and reliable charging capabilities in your vehicle. By following these steps, you can restore your charger port to its optimal functionality, empowering you to stay connected and powered up on the road.

Image: www.gajotres.net
How To Fix The Charger Port In Car
https://youtube.com/watch?v=gTy-7pmlXxo