A leaky shower head can be an annoying and bothersome issue, contributing to wasted water, increased utility bills, and potential damage to your bathroom. Fortunately, resolving this issue is often a straightforward task that can be accomplished by DIY enthusiasts with basic tools and knowledge. In this article, we will delve into the causes and solutions for a leaking shower head, empowering you to restore your bathroom oasis to its former glory.
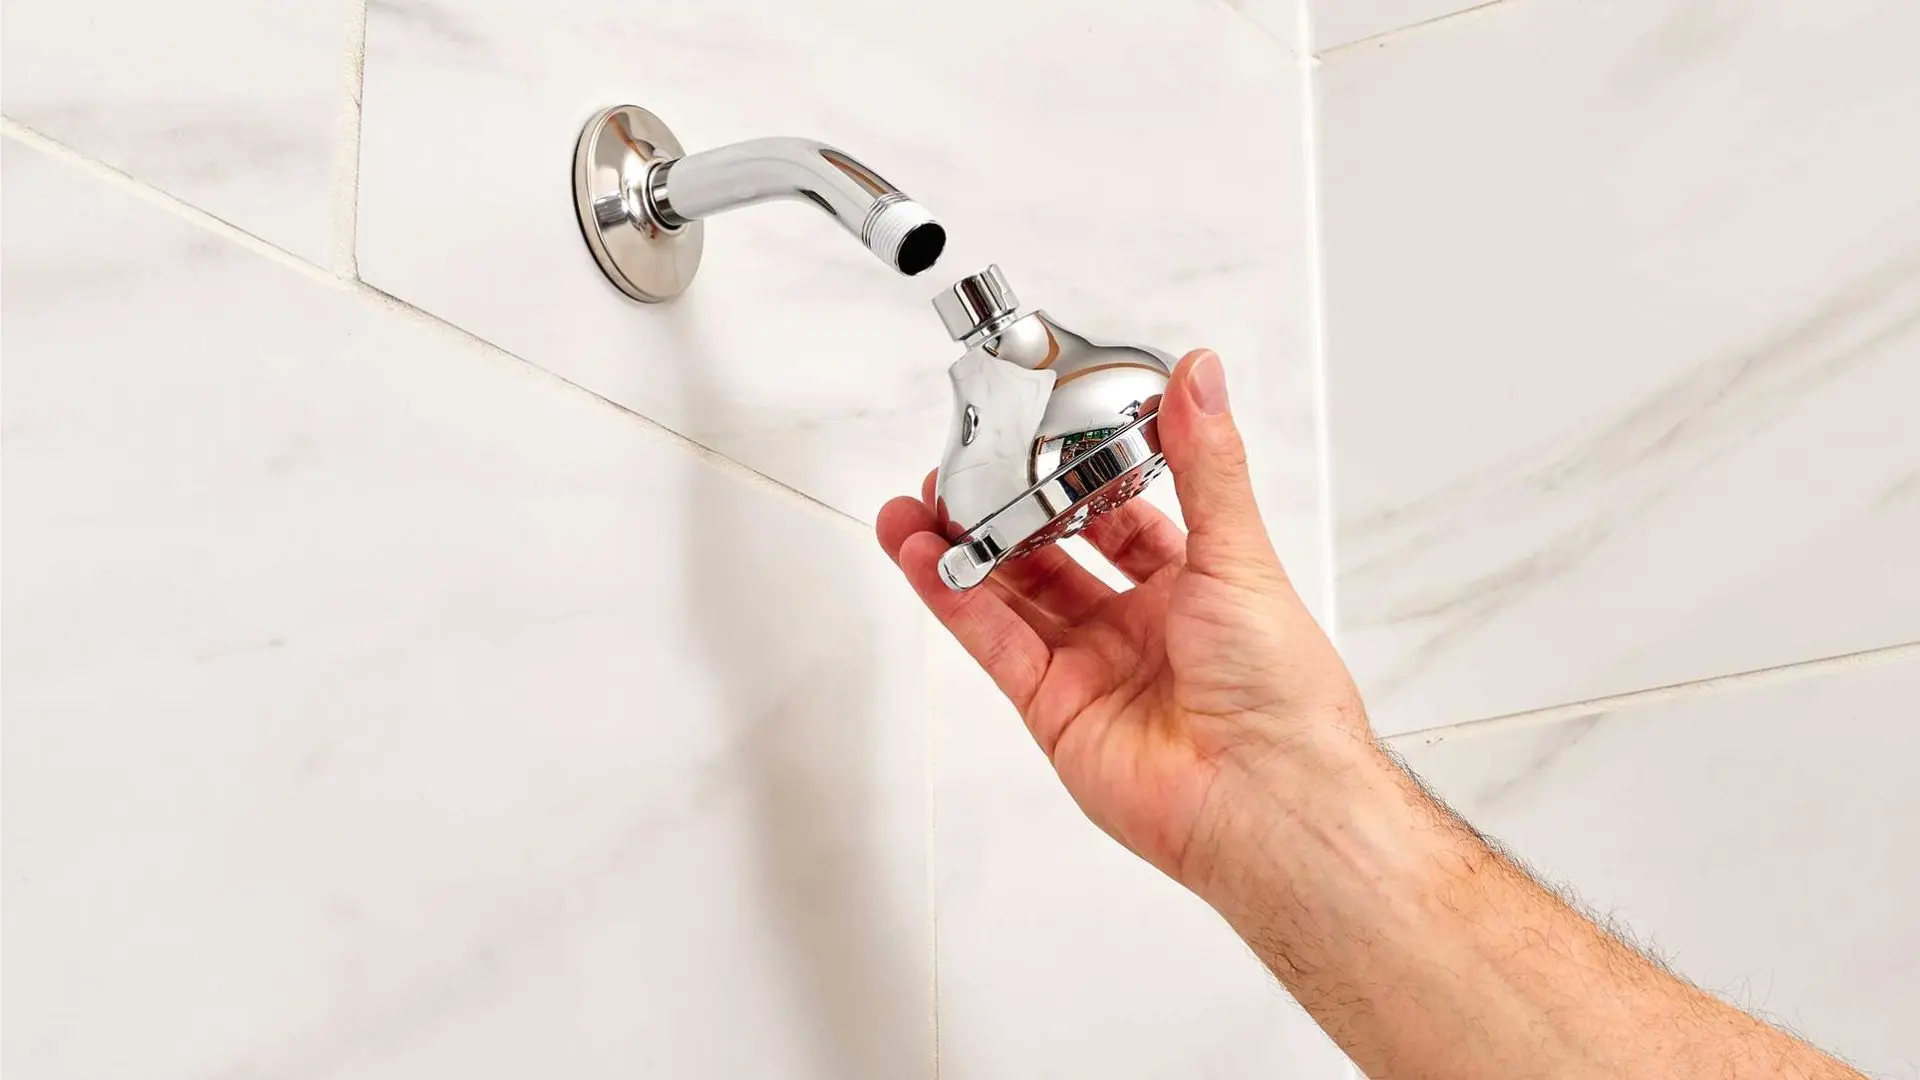
Image: wpplumbing.com.au
Causes of Shower Head Leaks
Understanding the root cause of the leak is essential for effective repair. Common causes include:
1. Loose Connection: The connection between the shower head and the shower arm can loosen over time or due to improper installation. This allows water to seep out from the joint.
2. Damaged Washer: A washer is a small rubber gasket that creates a watertight seal between the shower head and the shower arm. Worn-out or damaged washers can break or perish, compromising the seal and causing leaks.
3. Clogged Shower Head: Minerals and debris from hard water can accumulate inside the shower head, obstructing the flow of water and creating pressure that can lead to leaks.
4. Faulty Internal Components: In some cases, a leak may be caused by internal components within the shower head, such as a broken valve or a damaged stem washer. These issues typically require more advanced repair or replacement.
Troubleshooting and Repair Steps
Once the cause of the leak has been identified, you can proceed with the appropriate repair. Here’s a step-by-step guide:
1. Gather Tools and Materials:
a) Adjustable wrench or pipe wrench
b) Replacement washers (commonly 1/2-inch or 3/4-inch)
c) Plumber’s tape or thread sealant
d) Rags or towels
2. Shut Off Water Supply: Locate the water supply valves behind the bathroom mirror or under the sink and turn them off. This will prevent any further water from entering the shower head while you work.
3. Remove the Shower Head: Use the adjustable wrench to carefully loosen and disconnect the shower head from the shower arm. Be mindful not to overtighten when reattaching.
4. Inspect the Washer: Examine the washer for any signs of damage or deterioration. If it appears worn or torn, replace it with a new washer of the same size.
5. Clean the Shower Arm and Shower Head: Remove any mineral buildup or debris from the shower arm and shower head using a brush or cloth. Ensure the threads are clean and free of rust.
6. Apply Sealant (Optional): For added protection against leaks, wrap plumber’s tape or apply thread sealant around the threads of the shower arm and the threads of the shower head.
7. Reinstall the Shower Head: Screw the shower head back onto the shower arm by hand to avoid overtightening. Tighten it further using the adjustable wrench, but be cautious as excessive force can damage the components.
8. Turn On Water Supply: Restore the water supply by turning on the water valves. Check for any leaks at the connection or the shower head. If no leaks are present, your repair is complete.
9. Address Internal Issues (Advanced): If the leak persists despite following the above steps, the issue may lie with internal components. Contact a qualified plumber for professional diagnosis and repair.
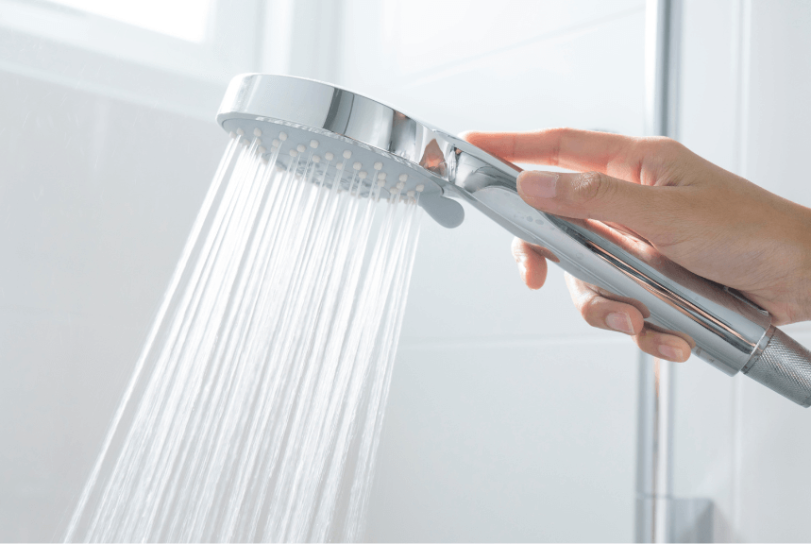
Image: thelocalplumber.com.au
Shower Head Is Leaking How To Fix
Conclusion
Fixing a leaky shower head is a manageable task that can save you time, money, and prevent potential damage to your bathroom. By understanding the causes of leaks and following the step-by-step repair instructions outlined above, you can effectively restore your shower head to optimal functionality. Remember to perform regular maintenance, such as descaling and cleaning, to minimize the risk of future leaks and ensure a consistently refreshing showering experience.
