The allure of a shimmering pool on a scorching summer day is undeniable. However, when a leak arises, it can rapidly transform your idyllic oasis into a costly nightmare. Pool leaks not only waste water and increase utility bills but can also damage the pool’s structure and surrounding landscape. Prompt identification and repair are crucial to minimize the impact and restore your pool’s pristine condition.

Image: www.nelsonpoolcompany.com
Identifying the Invisible Culprits
Unlike visible leaks that announce their presence with loud splashes and gaping holes, leaks in pipes often operate stealthily beneath the water’s surface. However, there are subtle signs that can betray their presence:
-
Unexplained water loss: Even without visible leaks, your pool water level may gradually decline, indicating a leak in the hidden depths.
-
Air bubbles in the pipes: When air bubbles are persistently visible in the pipes or return lines, it may suggest a leak that is sucking air into the system.
-
Cracks in the pool tiles or grout: A sudden appearance of cracks or detachment of tiles can indicate movement in the pipes below, potentially causing leaks.
-
Increased pump noise: A pump that operates louder than usual may be compensating for a drop in water pressure caused by a leak.
Action Steps for a Watertight Fix
-
Isolate the Leak: Turn off the pump and plug any return lines or skimmers. Fill the pool to its normal level, then observe the water level for any drop. If the water level remains constant, the leak is in the pipes.
-
Pressure Test the System: Attach a hose to the pressure test port on the pump and increase the pressure to 10-15 PSI. Check for leaks in the pipes, especially at fittings and joints. Leaks will manifest as water jets or wet areas.
-
Inspect the Pump and Filter: Disassemble the pump and filter, checking for any worn gaskets, seals, or damaged impeller blades that could cause leaks. Replace any defective components as necessary.
-
Examine the Pipes: Thoroughly inspect the pipes for any cracks, holes, or loose connections. Pay attention to areas where pipes pass through walls, decks, or other structures. If leaks are visible, proceed to repair them using appropriate materials such as underwater epoxy or pool pipe cement.
-
Apply Underwater Epoxy: Leaks in deep or hard-to-reach areas can be sealed using underwater epoxy. Clean the area around the leak and apply the epoxy according to the manufacturer’s instructions, creating a durable and watertight seal.
Beyond the Basics
-
Pressure Control Valve: Install a pressure control valve to prevent excessive pressure from damaging the pipes, which can lead to leaks.
-
Regular Maintenance: Schedule regular pool maintenance checks with a reputable pool technician to identify and address potential leaks early on.
-
Monthly Inspections: Inspect your pool monthly for any signs of leaks. Look for cracks, discoloration, or any unusual water movement.
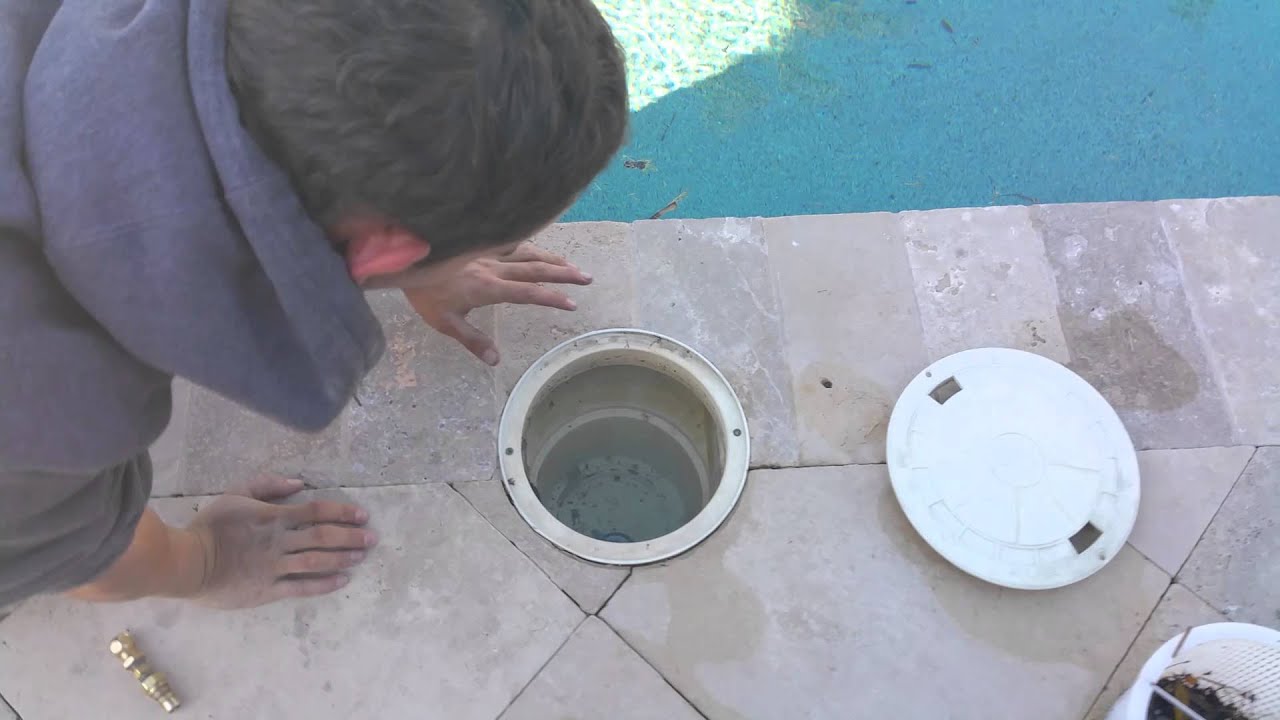
Image: www.youtube.com
How To Fix A Pool Leak In Pipes
Conclusion
Detecting and repairing pool leaks in pipes requires a keen eye, patience, and the right tools. By following these comprehensive steps, you can restore your pool’s crystal-clear brilliance and protect your investment from costly damage. Remember to prioritize safety at all times, and if in doubt, do not hesitate to consult a professional pool contractor. With proper maintenance and timely repairs, your pool will continue to be a source of endless summer fun and relaxation for years to come.
