Introduction
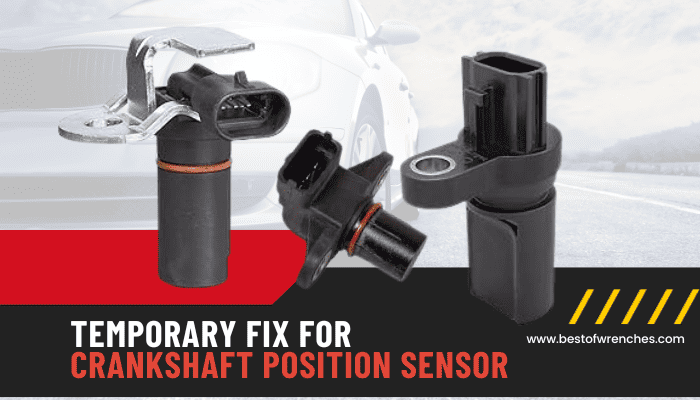
The crankshaft position sensor (CKP), a crucial component in any internal combustion engine, plays a pivotal role in ensuring optimal engine performance. It continuously monitors the crankshaft’s position and speed, providing vital data to the engine’s control module (ECM). This information determines the timing of fuel injection, ignition, and various other engine functions. A malfunctioning CKP can cause a range of issues, including engine stalling, misfires, and reduced fuel efficiency. Understanding how to fix a crankshaft position sensor can save you time, money, and frustration.

Image: fixengineschultz77.z19.web.core.windows.net
Understanding the Crankshaft Position Sensor
As the heart of the engine, the crankshaft synchronizes the piston movements and converts them into rotational motion. The CKP, positioned near the crankshaft, utilizes magnetic or optical technology to detect the crankshaft’s position and speed. A ferrous ring or a slotted disk attached to the crankshaft triggers a signal in the sensor as it rotates. This signal is then sent to the ECM, where it is analyzed to calculate the engine’s speed and the positions of the pistons.
Symptoms of a Failing Crankshaft Position Sensor
A malfunctioning CKP can manifest itself in various ways, depending on the severity of the issue. Some common symptoms include:
Troubleshooting the Crankshaft Position Sensor
If you suspect a CKP issue, begin by using an OBD-II code reader to scan for any stored trouble codes. Codes related to the CKP might include P0335 (Crankshaft Position Sensor Circuit Malfunction) or P0336 (Crankshaft Position Sensor Range/Performance Problem). However, it’s important to note that the absence of a CKP-specific trouble code does not necessarily rule out a sensor issue.
Next, perform a visual inspection of the CKP and its wiring harness. Look for any signs of damage, corrosion, or loose connections. A damaged sensor or faulty wiring can cause intermittent or permanent failure.

Image: bestofwrenches.com
Replacing the Crankshaft Position Sensor
If the troubleshooting steps confirm a faulty CKP, replacing it is the next step. Here’s a general guide:
Tools Required
- Socket wrench or spanner
- Screwdriver
- Replacement crankshaft position sensor
Steps
- Locate the CKP, which is typically situated near the crankshaft.
- Disconnect the electrical connector from the sensor.
- Use a socket wrench or spanner to loosen the mounting bolts and remove the old sensor.
- Clean the mounting surface where the new sensor will be installed.
- Apply a small amount of sensor-safe lubricant to the O-ring or seal on the new sensor.
- Carefully insert the new sensor into place and tighten the mounting bolts.
- Reconnect the electrical connector.
- Clear any stored trouble codes using an OBD-II scanner.
- Start the engine and check for proper operation.
How To Fix Crankshaft Position Sensor
Conclusion
Maintaining a functioning CKP is essential for the smooth operation of your engine. Understanding how to fix a crankshaft position sensor empowers you to diagnose and resolve issues promptly, preventing costly repairs and ensuring optimal engine performance. By following the steps outlined in this guide, you can confidently tackle this task and keep your vehicle running efficiently.