Want to know more about How To Make A Fnaf Mask Out Of Cardboard Easy? Read this article to get the information you need.
How to Craft a Haunting FNAF Mask Out of Cardboard: A Step-by-Step Guide
When it comes to crafting the perfect costume, a mask can make all the difference. And what better way to terrify your friends this Halloween than with a spine-tingling FNAF mask? Surprisingly, you don’t need fancy materials or expert craftsmanship—just some cardboard, a dash of creativity, and this detailed guide.
The Anatomy of a FNAF Mask: Breaking Down the Basics
Before we dive into the crafting process, let’s familiarize ourselves with the key components of a FNAF mask:
-
Head Shape: The base of the mask, providing the overall facial structure.
-
Distinctive Features: The elements that make the character recognizable, such as eyes, teeth, and facial markings.
-
Jaw: The movable section that allows for eerie animations and adds a touch of menace.
With this foundation established, let’s embark on our mask-making journey!
Materials You’ll Need:
- Corrugated cardboard
- Black and white construction paper
- Masking tape
- Scissors
- Pencil
- Ruler
- Black paint (optional)
- Hot glue gun
Step-by-Step Instructions:
1. Head Shape:
- Draw an oval shape on the cardboard for the head.
- Cut out an additional oval, slightly smaller than the first.
- Glue the smaller oval inside the larger one to create a 3D structure.
2. Mouth and Teeth:
- Sketch a wide, cartoonish mouth on a piece of white paper.
- Cut it out and glue it in place on the head shape.
- Draw and cut out sharp teeth from black paper and glue them inside the mouth.
3. Eyes:
- Draw two circular eyes on white paper, and shade them lightly with a pencil for depth.
- Cut them out and glue them in the appropriate position on the head.
4. Facial Markings:
- Use a ruler and pencil to draw the distinctive facial markings, such as cheekbones and forehead lines.
- Trace them with black paint for definition.
5. Jaw:
- Cut out a long, curved strip of cardboard and glue it to the bottom edge of the head shape.
- This will form the jaw and allow for movement.
6. Assembly:
- Tape or glue the jaw to the head securely.
- Reinforce the entire mask with masking tape for durability.
- Cover any exposed edges or gaps with black construction paper.
Tips and Expert Advice:
-
Use thick cardboard: Multiple layers of corrugated cardboard will provide extra strength and stability.
-
Experiment with colors and patterns: Don’t limit yourself to the traditional FNAF colors. Get creative and personalize your mask with unique designs.
-
Add accessories: Enhance the mask’s realism with fake wires, LED lights, or even a small speaker for eerie sound effects.
FAQs:
-
How big should the mask be? It depends on the size of your head. Measure from your chin to the top of your forehead to determine the vertical measurement.
-
Can I use other materials besides cardboard? Yes, you can experiment with foam board, papier-mâché, or even wood for a more durable mask.
-
How do I make the mask comfortable to wear? Use soft padding or foam around the edges that come into contact with your face.
Conclusion:
With a little patience and a lot of creativity, you can create your own terrifying FNAF mask out of cardboard. Whether you’re a seasoned costume enthusiast or a Halloween newbie, this step-by-step guide will empower you to bring the iconic characters to life. So, dare you venture into the haunting world of FNAF? Pick up some cardboard and let your imagination run wild!
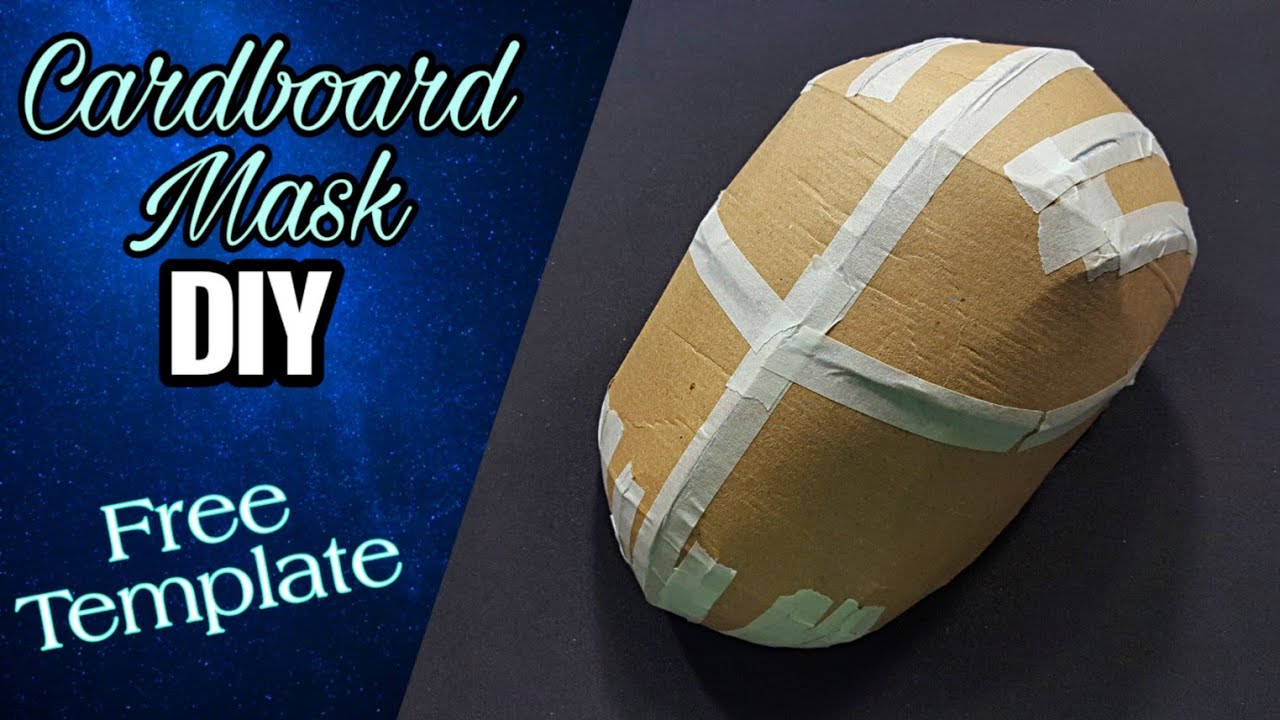
Image: www.youtube.com
You have read an article about How To Make A Fnaf Mask Out Of Cardboard Easy. We express our gratitude for your visit, and we hope this article is beneficial for you.
