Image: educatoral.com
A Tragedy Unfolds:
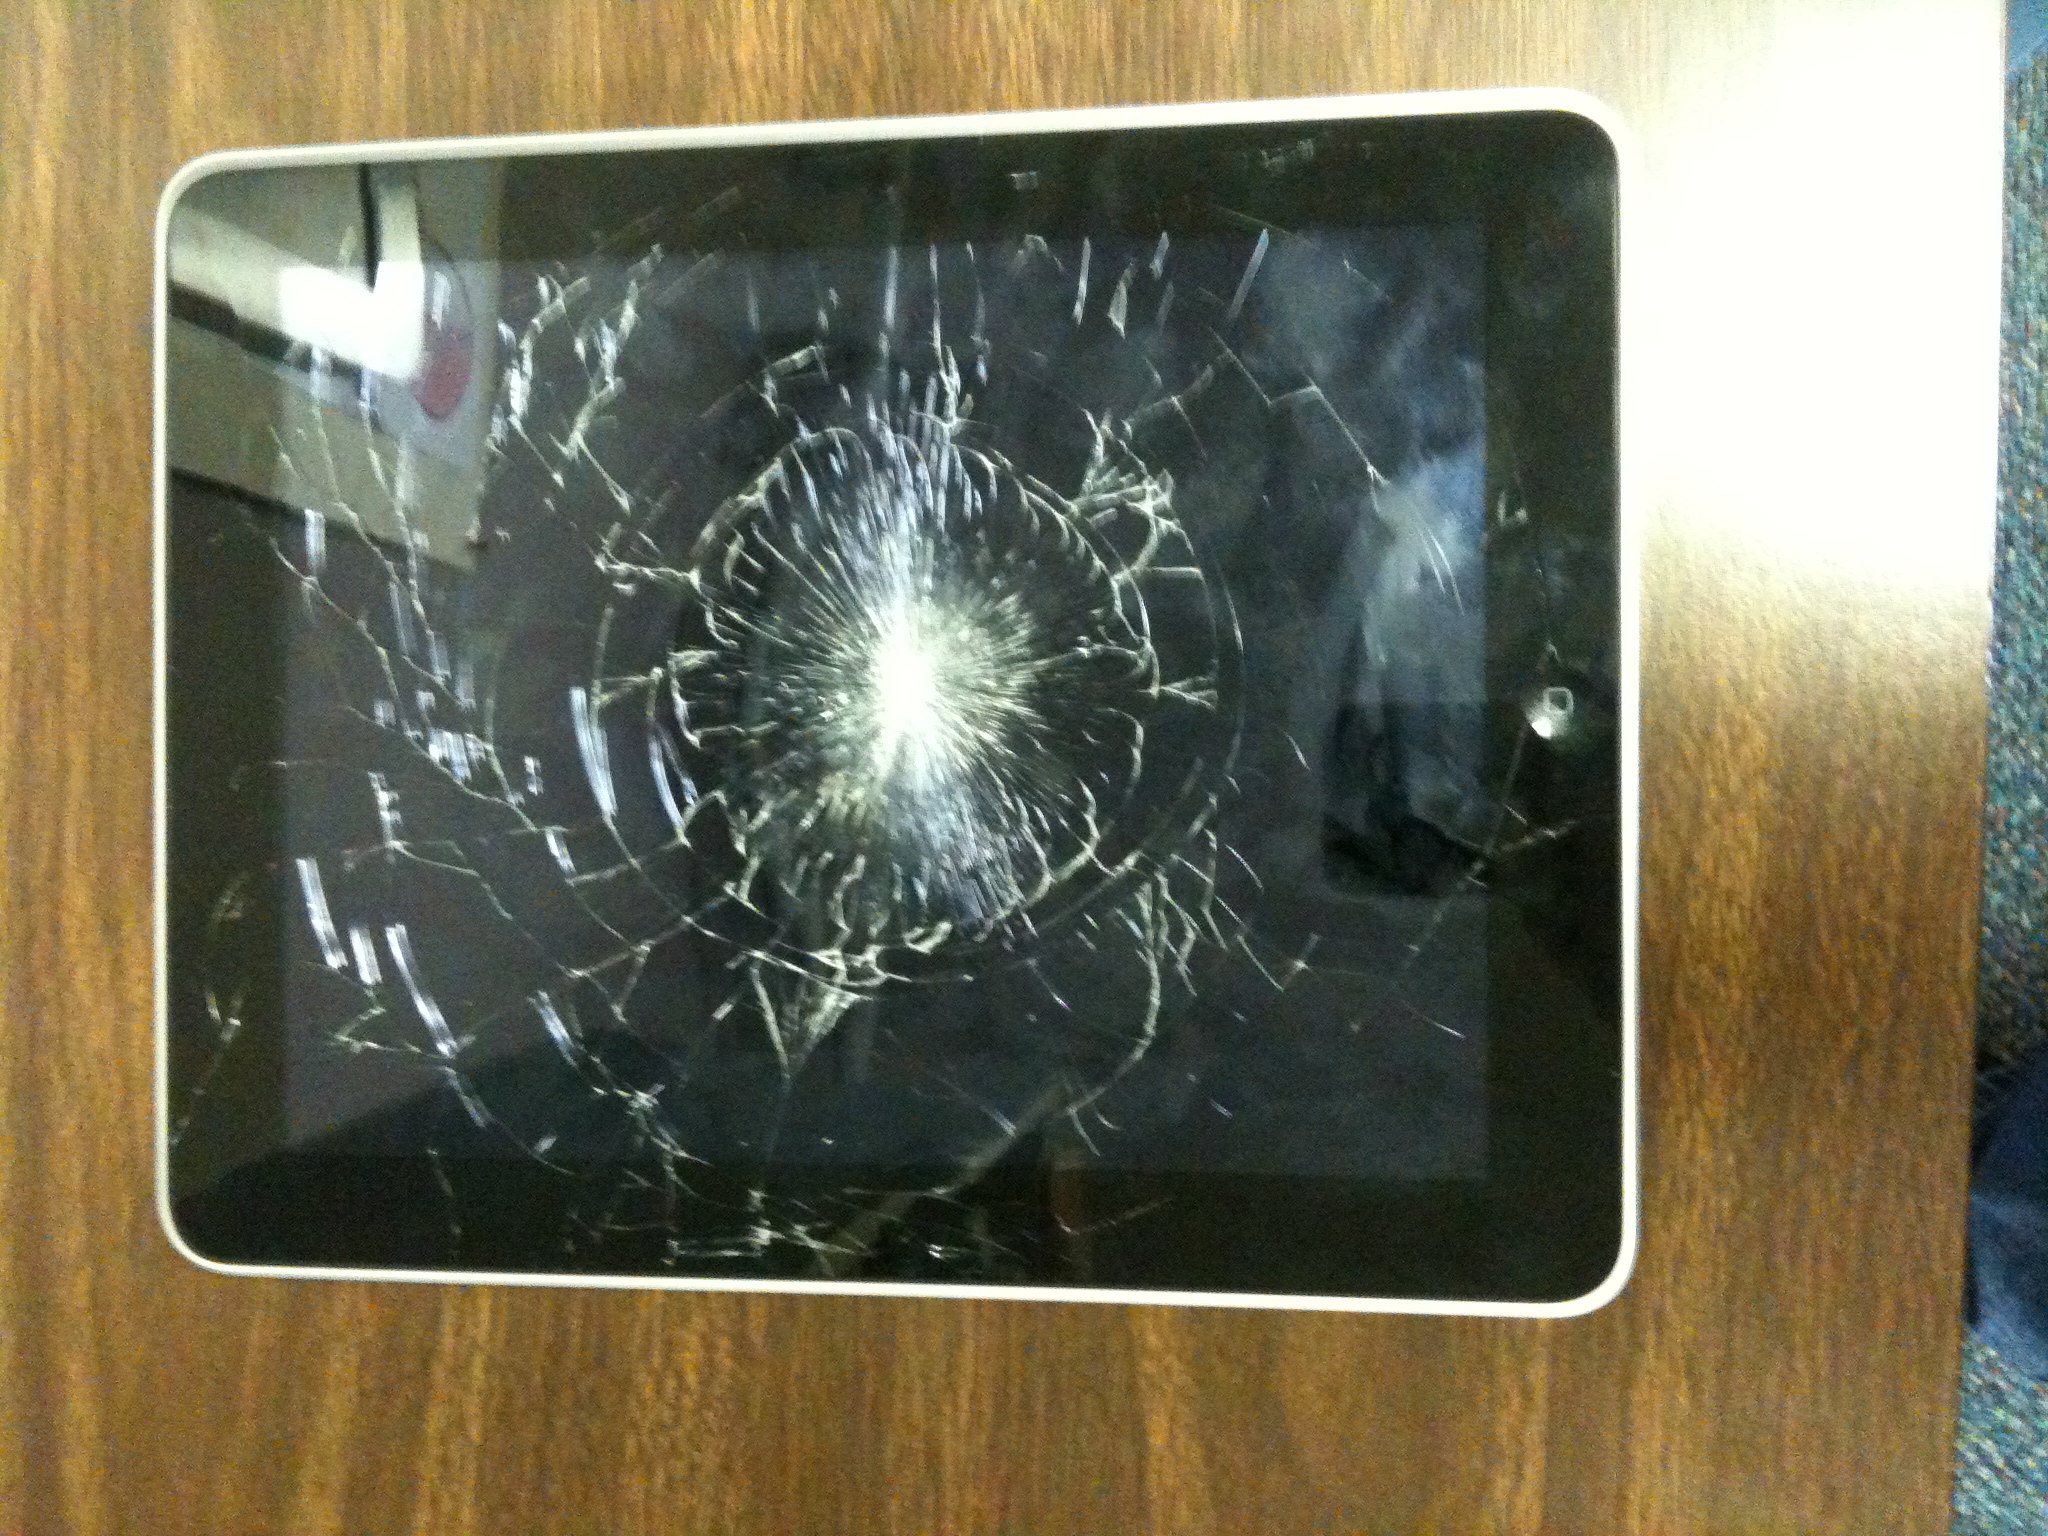
Your prized iPad, a constant companion and lifeline to the digital world, has met an unfortunate end. A moment of carelessness, and the dreaded crack spreads like a spiderweb across the once-pristine screen. Your heart sinks as you realize the extent of the damage, leaving you stranded in a technological purgatory.
But fear not! This comprehensive guide will empower you with the knowledge and tools to navigate the treacherous waters of iPad screen repair. Join us on this epic journey as we explore the shattered fragments and restore your device to its former glory.
Understanding the Anatomy of Your iPad Screen:
The iPad screen is a complex masterpiece, consisting of several delicate layers:
- Outer Glass: The outermost layer that takes the brunt of impact.
- LCD Panel: Responsible for displaying images and colors.
- Polarizer: Regulates light to enhance image clarity.
- Touchscreen Digitizer: Detects and registers your finger movements.
When your screen is shattered, it’s likely that one or more of these layers have sustained damage, compromising your device’s functionality.
The Path to Restoration:
Depending on the extent of the damage, you can embark on one of two paths: DIY repair or professional intervention.
Venturing Down the DIY Route:
For the intrepid souls who prefer to tackle challenges head-on, DIY repair is an option. However, it requires ample patience, precision, and a steady hand.
- Gather Essential Tools: Acquire a screen repair kit, which typically includes precision screwdrivers, spudger tools, and adhesive strips.
- Muster Courage and Patience: Don’t rush into the process. Carefully follow the instructions and take your time.
- Disconnect the Battery: To avoid electrical accidents, disconnect the battery as the first step.
- Remove the Display Assembly: Use the spudger to gently detach the display assembly from the chassis.
- Replace the Damaged Screen: Transfer the necessary components from the old screen to the new one and carefully connect it.
- Reassemble with Care: Reverse the disassembly steps, ensuring secure connections and a snug fit.
Seeking Professional Guidance:
If the damage is severe or you lack the necessary finesse for DIY repair, don’t hesitate to seek professional assistance.
- Authorized Repair Centers: Apple-authorized repair centers guarantee genuine parts and expert craftsmanship.
- Certified Third-Party Repairers: Reputable third-party repair shops offer cost-effective options while maintaining high standards.
- Independent Repair Technicians: Skilled individuals with experience in iPad screen repair can provide quality service at competitive rates.
Expert Insights and Actionable Tips:
- Consider the Impact of the Damage: Assess the severity of the screen damage. If the glass is severely cracked or the LCD panel is affected, it’s unlikely that a DIY repair will suffice.
- Protect Your Privacy: Before handing over your device for repair, back up all your data and sign out of your personal accounts.
- Communicate Effectively: Clearly convey the symptoms and extent of the damage to the repair technician to ensure accurate diagnosis and repair.
- Seek Warranty Coverage: If your iPad is still under warranty, reach out to Apple for potential coverage options.
Conclusion:
Repairing a smashed iPad screen can be a daunting task, but with the right guidance and a willingness to learn, it’s possible to restore your device to its former glory. Remember, whether you choose the DIY path or seek professional help, the aim is to regain the seamless functionality of your iPad and continue weaving the fabric of your digital life.

Image: www.pinterest.com
How To Fix A Smashed Ipad Screen
