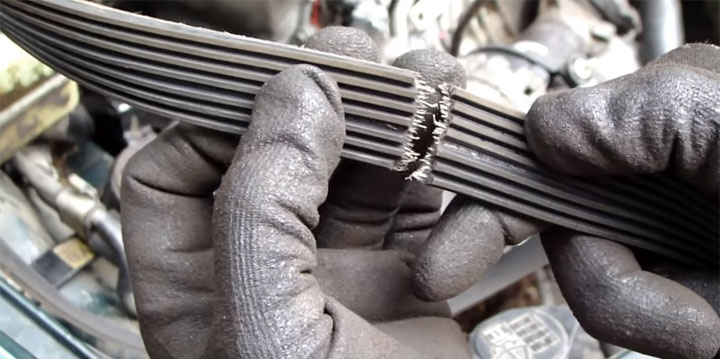
Imagine this: you’re dashing out the door in the morning, the perfect outfit adorning your body. As you fasten your belt, disaster strikes—with a resounding snap, the leather gives way, leaving you with a broken belt and a sinking feeling. Fear not, fashion-forward friend! This comprehensive guide will lead you through the intricacies of belt repair, empowering you to restore your wardrobe to its former glory.

Image: taused.com
Understanding Belts: A Foundation for Repair
A belt is more than just an accessory; it’s a functional piece of clothing that keeps your pants securely in place. Constructed from various materials such as leather, canvas, or synthetic fabrics, belts come in diverse lengths and widths to suit different waistlines and styles. Before embarking on the repair process, it’s important to assess the type of belt you’re dealing with, as the repair technique may vary depending on the material.
Repairing a Leather Belt: Bringing Life Back to a Timeless Classic
Leather belts exude timeless elegance and durability. However, even these resilient accessories are not immune to the wear and tear of daily use. If your leather belt has succumbed to a break, fret not; with a little TLC, you can restore it to its former glory.
Materials you’ll need:
-
Leather glue or cement
-
Clamps or heavy weights
-
Sandpaper (fine-grit)
-
Soft cloth

Image: cartreatments.com
Step-by-step guide:
-
Clean the broken edges of the belt with the soft cloth to remove dirt or debris.
-
Apply a thin layer of leather glue to both broken edges, ensuring even coverage.
-
Align the broken edges carefully and press them together firmly.
-
Secure the joint with clamps or heavy weights. Allow it to dry for several hours or overnight.
-
Once the glue has dried, reinforce the joint by sanding down any excess glue or rough edges.
Fixing a Canvas Belt: Restoring Resilience to a Casual Essential
Canvas belts are a casual staple renowned for their durability and versatility. Despite their rugged nature, they’re not impervious to breakage. Follow these steps to revive your canvas belt and maintain its dependable functionality.
Materials you’ll need:
-
Canvas repair tape or fabric glue
-
Scissors
-
Measuring tape or ruler
Step-by-step guide:
-
Overlap the broken ends of the belt by at least 1 inch.
-
Apply canvas repair tape or fabric glue to the overlapping area.
-
Press the overlapped portion together firmly and hold it in place for several minutes.
-
Use scissors to trim any excess tape or glue.
Expert Insights: Unlocking the Secrets of Professional Repairs
How To Fix A Broken Belt
Conclusion: Empowering You as a Belt Restoration Expert
Restoring a broken belt is a testament to your resourcefulness and commitment to maintaining a polished wardrobe. This comprehensive guide has equipped you with the knowledge and techniques to tackle belt repairs with confidence. Remember, with the right tools and a touch of patience, you can breathe new life into your beloved accessories, saving both money and maintaining your sharp style.