Water leaks, like a dripping faucet or a leaking ball valve, can transform a serene abode into a discordant nuisance. Whether it’s a minuscule trickle or a continuous cascade, leaks not only waste precious water and increase utility bills but can also lead to structural damage if left unattended. Among the various plumbing fixtures, ball valves are often the culprits of annoying leaks, but fear not, as this comprehensive guide will equip you with the knowledge and step-by-step instructions to tackle this issue head-on. By the end of this article, you’ll be an expert in ball valve leak repair, empowered to restore tranquility to your household plumbing.

Image: www.baan9chang.com
Understanding Ball Valves and Leakage Points
A ball valve is a widely used type of valve that controls the flow of water or other liquids within a piping system. Characterized by a spherical ball-shaped mechanism housed inside, ball valves offer efficient and reliable flow regulation. However, as with any mechanical component, these valves can develop leaks over time. Identifying the potential leakage points is crucial for effective repair. The most common areas for ball valve leaks include:
- Packing Nut: This nut is responsible for sealing the valve stem, preventing leakage around the handle.
- Valve Stem: The stem is the shaft that connects the handle to the ball mechanism. Wear and tear on the stem can cause leaks.
- Ball Seals: The ball seals are located inside the valve, sealing against the valve body to prevent flow when the valve is closed. Degradation of these seals can lead to leaks.
- Body Joints: The valve body connects to the plumbing system. Leaks can occur at the joints due to improper tightening or faulty seals.
Step-by-Step Ball Valve Leak Repair Guide
Repairing a ball valve leak involves a few essential steps that can be easily followed with the right tools and a little patience. Here’s a detailed walkthrough:
-
Safety First: Before commencing any repair, turn off the water supply to the valve. Open a faucet downstream of the valve to release any remaining water pressure.
-
Identify the Source: Determine the exact location of the leak. Check for signs of water droplets or moisture around the packing nut, valve stem, or valve body joints.
-
Disassemble the Valve: Using an adjustable wrench or spanner, carefully loosen and remove the packing nut. The valve handle and stem should then be pulled out. If the valve is particularly old or seized, applying penetrating oil to the threads can aid in dismantling.
-
Replace the Packing Nut: In most cases, a worn-out packing nut is the culprit of the leak. Replace the old packing nut with a new one of the same size and material. Tighten it snugly using the wrench, but avoid overtightening.
-
Inspect the Valve Stem: Inspect the valve stem for any visible damage or wear. If the stem is damaged, it may need to be replaced. Apply a small amount of silicone grease to the stem to ensure a proper seal.
-
Replace the Ball Seals: If the leak persists after replacing the packing nut, the issue may lie with the ball seals. Remove the valve body bolts and gently separate the valve body to access the seals. Replace the old seals with new ones, ensuring they are properly seated in their designated slots.
-
Reassemble the Valve: After replacing the necessary components, reassemble the valve by reversing the disassembly steps. Apply pipe sealant or thread tape to the body joints for added sealing. Tighten the bolts and packing nut securely.
-
Test the Repair: Turn on the water supply and slowly open the ball valve. Check for any leaks around the repaired areas. If the leak persists, further troubleshooting may be necessary.
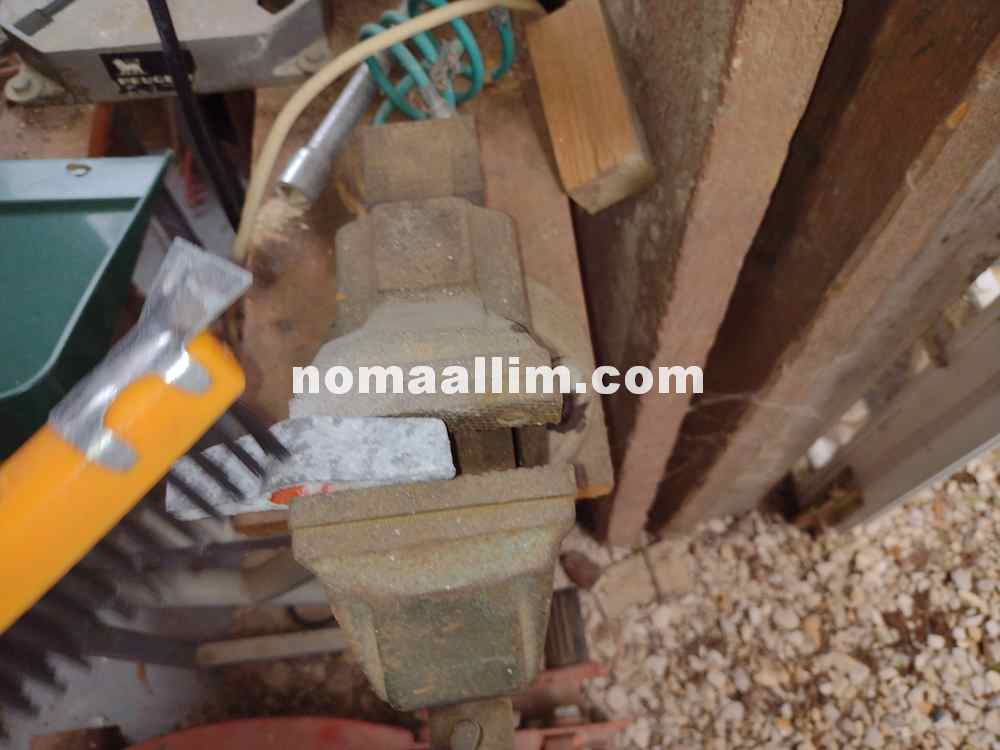
Image: www.nomaallim.com
How To Fix A Ball Valve Leak
Additional Tips for Ball Valve Leak Prevention
While leaks can be frustrating, they can often be prevented with proper maintenance and care. Here are a few tips to minimize the risk of ball valve leaks:
-
Regular Inspection: Periodically inspect ball valves for any signs of wear or leaks. Tighten loose packing nuts and check for any cracks or damage on the valve body or components.
-
Proper Handling: Avoid overtightening the valve handle or packing nut, as excessive force can damage the valve components and cause leaks.
-
Water Hammer Prevention: Install water hammer arrestors in the plumbing system to reduce pressure surges that can damage valves and seals.
-
Professional Assistance: If DIY repairs fail to resolve the leak, don’t hesitate to seek assistance from a qualified plumber.
Fixing a leaking ball valve can be a relatively straightforward task with the right knowledge and tools. By following the steps outlined in this comprehensive guide, you can restore your plumbing system to its leak-free glory. Remember, addressing leaks promptly不僅可以維護您的房屋完整性,而且可以讓您安心,讓您不再為浪費水和更高的水費而擔憂。
