Battling the Persistent Problem of Bubbles in Window Tint
Window tint offers undeniable benefits, transforming your car into a cooler, more private, and stylish ride. However, the dreaded appearance of bubbles can dampen this joy. These unsightly imperfections can mar the aesthetic appeal and undermine the otherwise flawless execution of your tint job. Patience and precision are vital.

Image: www.globaltintusa.com
The Causes of Tint Bubbles
Understanding the reasons behind bubbles is essential for successful prevention. Air entrapment during installation is a primary culprit. Imperfect or hasty application can leave pockets of air beneath the film, which become visible as distinct bubbles. Another common cause is the presence of moisture or contaminants on the glass or tint surface. These foreign elements hinder proper adhesion, resulting in the formation of bubbles.
A Comprehensive Guide to Bubble Removal
Embarking on the process of removing bubbles requires a cautious and step-by-step approach. Initial attempts should focus on coaxing the air pockets towards the edge of the film using a soft, lint-free cloth or a credit card wrapped in a microfiber towel. For larger bubbles, a small needle can be used to puncture the bubble’s edge, allowing the trapped air to escape. Post-removal, apply firm pressure to the surrounding area to ensure the film’s proper bonding. Heat can also be employed to soften the film and enhance its pliability, making it easier to remove stubborn bubbles.
Expert Tips for Avoiding Bubbles
-
Meticulous Preparation: Clean both the glass and tint surface diligently with isopropyl alcohol to eliminate any impurities that could impede adhesion.
-
Precise Application: Align the tint carefully and apply the film with even pressure, employing a squeegee or rubber roller to remove air bubbles as you progress.
-
Post-Application Care: Allow ample time for the tint to set properly before rolling down the windows or operating other glass components. Avoid exposure to extreme temperatures for at least a week after installation.
-
Professional Installation: If you lack the confidence or experience, entrust the task to an experienced professional who can execute a flawless tint job, ensuring a bubble-free finish.

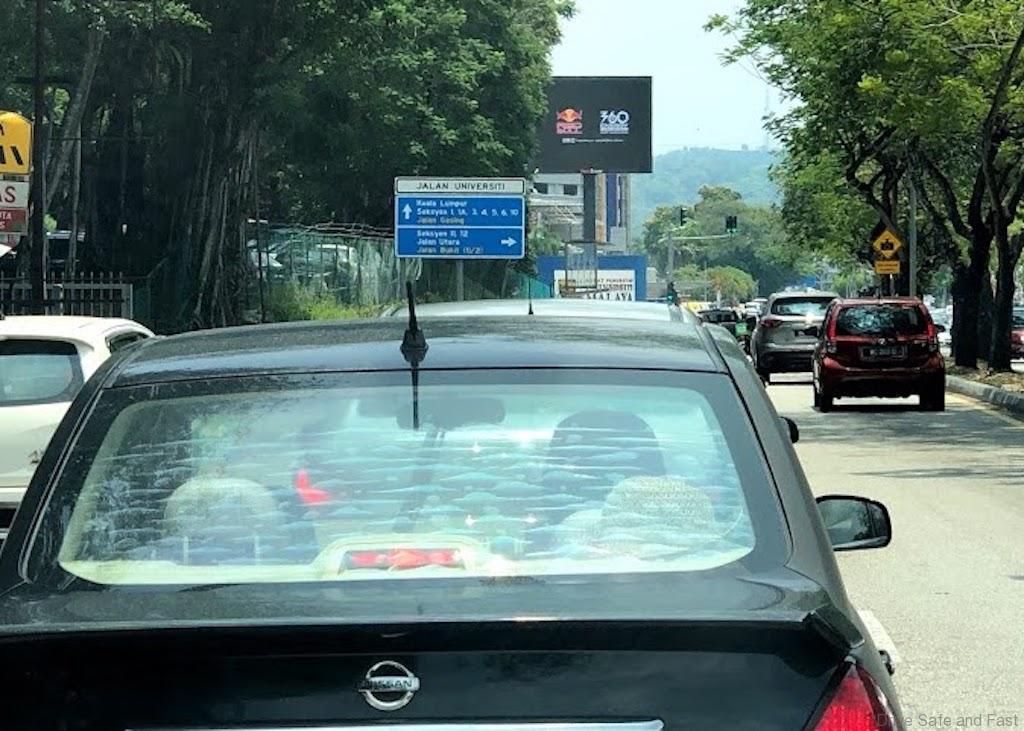
Image: www.dsf.my
FAQs on Bubble Removal
Q: Can I fix tint bubbles after they have set?
A: While it’s easier to remove bubbles during installation, it is still possible to address them later. Heat can be applied to soften the film and coax the bubbles towards the edge for removal.
Q: How can I prevent bubbles from forming in the future?
A: Thorough preparation, careful application, and post-installation care are essential for preventing bubbles. Avoiding harsh cleaning agents and maintaining a clean window surface also contribute to longevity.
Q: Is it a good idea to pierce tint bubbles?
A: Yes, puncturing the edge of a bubble with a small needle is an effective method to release trapped air. However, ensure you use a sharp, clean needle to minimize film damage.
How To Fix Bubbles In Tint
Conclusion: Achieving a Crystal-Clear Tint
Eradicating bubbles from window tint demands meticulous preparation, precise application, and careful post-installation care. By adhering to the techniques and tips outlined in this article, you can restore the pristine appearance of your tint, preventing bubbles from diminishing its aesthetic and functional value. Remember, patience and precision are paramount, and if you’re unsure, consulting a professional can ensure a flawless outcome. Are you ready to bid farewell to bubbles and embrace the transformative power of pristine window tint?