Every bathroom deserves a pristine toilet that enhances its overall aesthetics and hygiene. However, over time, scratches and blemishes can mar the surface of your ceramic throne, detracting from its visual appeal and functionality. Don’t despair, for there are effective ways to restore your toilet to its former glory. In this comprehensive guide, we will delve into a step-by-step process that will equip you with the knowledge and techniques to fix scratched toilets with ease and confidence.

Image: www.youtube.com
Understanding Ceramic Toilets: A Foundation for Effective Repair
To approach toilet repair effectively, it’s essential to understand the material you’re working with. Most modern toilets are made of vitreous china, a durable ceramic material renowned for its non-porous and stain-resistant properties. Its smooth surface makes it easy to clean and disinfect, but it’s not immune to scratches and abrasions caused by everyday use and cleaning practices.
Tools and Materials: Arming Yourself for the Restoration Mission
Before embarking on your toilet restoration journey, gather the necessary tools and materials to ensure a successful outcome. You will need:
- Soft cloths or sponges
- White vinegar
- Baking soda
- Commercial porcelain cleaner
- Sandpaper (fine grit, 1000 or higher)
- Polishing compound for porcelain
- Electric drill with a polishing pad or attachment
- Rubber gloves
- Safety glasses
Step-by-Step Guide to Mending Scratched Toilets
Now, let’s delve into the practical steps to repair those unsightly scratches on your toilet:
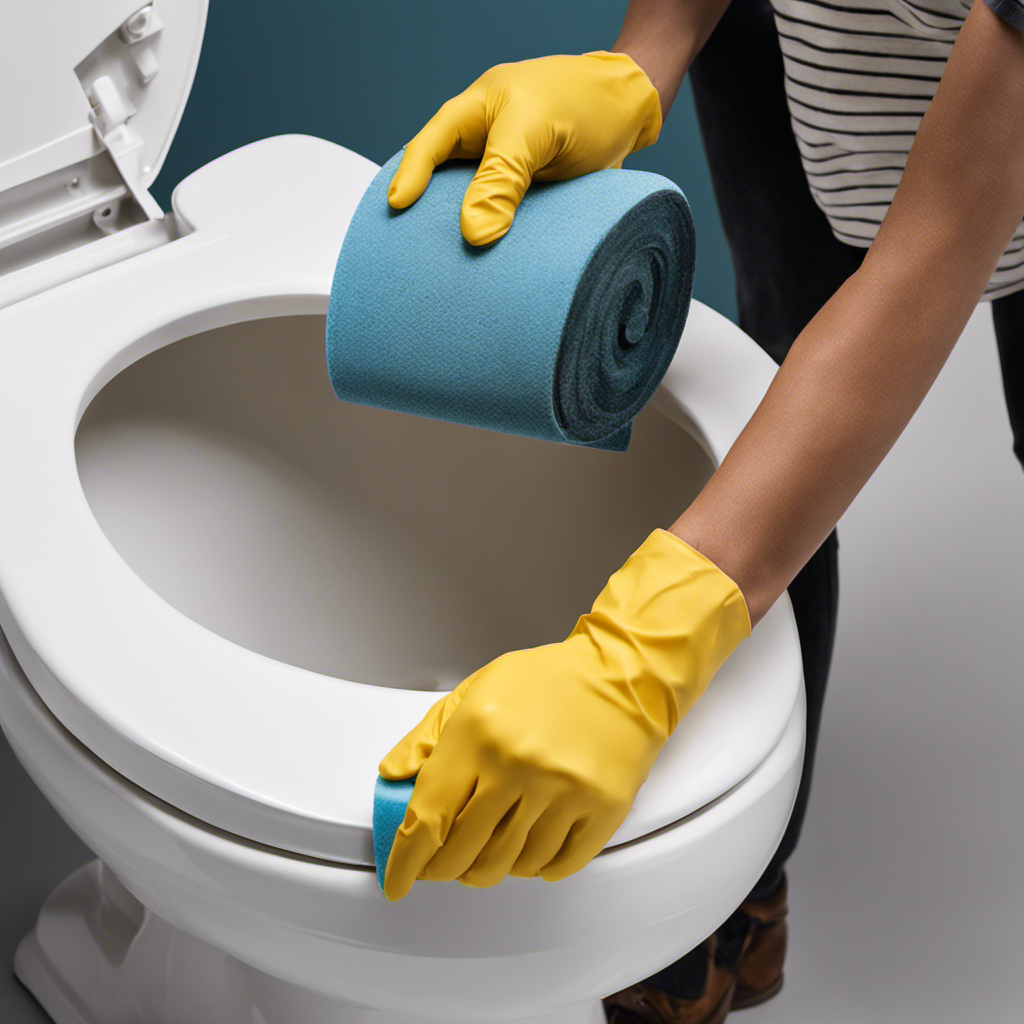
Image: bestmoderntoilet.com
1. Preparing the Battleground: Cleaning and Degreasing
- Don rubber gloves and safety glasses for protection.
- Apply white vinegar liberally to the scratched areas and let it sit for 15 minutes. Vinegar’s acidity helps dissolve mineral deposits and grime that may fill the scratches.
- Rinse the area thoroughly with clean water and dry it with a soft cloth.
- Repeat the process with baking soda, which acts as a mild abrasive to gently lift remaining debris.
- Apply a commercial porcelain cleaner according to the manufacturer’s instructions to remove any remaining residue. Rinse again and towel dry.
2. Smoothing the Surface: Sanding Out Imperfections
- With your fine-grit sandpaper, lightly sand the scratched areas in a circular motion, applying gentle pressure. The goal is to smooth out the edges of the scratches and create an even surface.
- Wipe away any dust with a damp cloth and allow the area to dry completely.
3. Polishing to Perfection: Restoring the Gloss
- Apply a small amount of porcelain polishing compound to the scratched area using a soft cloth.
- Attach a polishing pad or foam attachment to your electric drill and gently polish the area on low speed.
- Gradually increase the speed as necessary to achieve a smooth and glossy finish.
- Wipe away any excess polishing compound with a clean cloth.
4. Protecting Your Masterpiece: Sealing and Waxing
- Once the scratches have been repaired and the surface is polished, it’s time to seal the deal and prevent future damage.
- Apply a porcelain sealant to the affected area and let it cure according to the manufacturer’s instructions.
- Apply a layer of carnauba wax to the entire toilet surface and buff it to a beautiful shine.
Expert Tips for Exceptional Toilet Repair
- For deeper scratches, consider using a Dremel tool with a grinding bit. Start with a fine grit and gradually increase the coarseness as needed.
- Don’t apply too much pressure when sanding or polishing to avoid creating new scratches.
- If the scratches are particularly deep, you may need to use a two-part epoxy to fill them in. Apply the epoxy according to the manufacturer’s instructions and let it cure completely before sanding and polishing.
- Regular cleaning and proper cleaning techniques can prevent future scratches. Use non-abrasive cleaners and avoid scrubbing the toilet with abrasive materials.
How To Fix Scratched Toilet
Conclusion: Your Throne Awaits, Restored to its Former Glory
Armed with this comprehensive guide and the practical tips provided, you now possess the knowledge and skills to tackle scratched toilets with confidence. Remember, patience and attention to detail are key to achieving a seamless repair that will restore your toilet to its pristine condition. By following these steps and incorporating expert advice, you can transform your bathroom throne into a gleaming symbol of hygiene and aesthetic delight.
